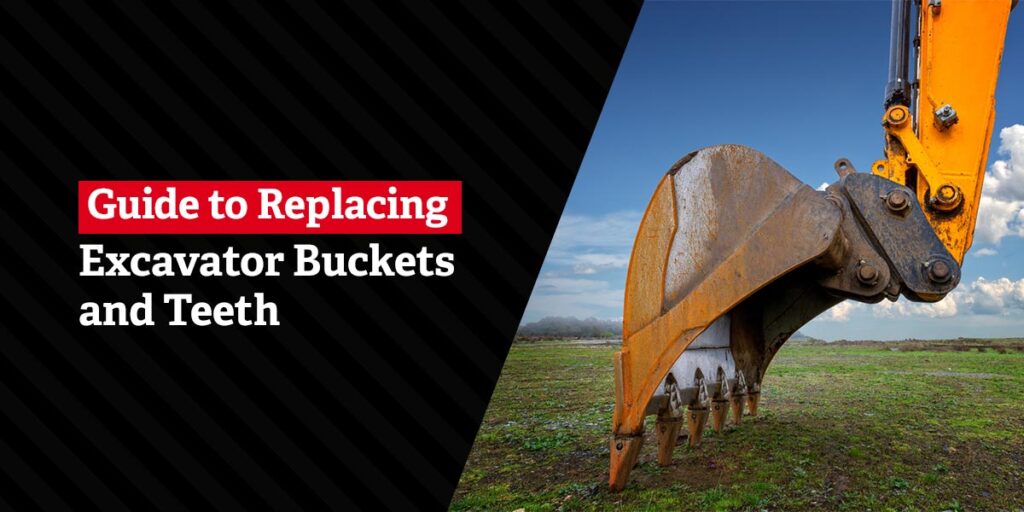
This guide will teach you how to change excavator buckets and remove and change excavator bucket teeth to make the most of your earthmoving machinery.
Excavators and mini excavators are versatile equipment, suiting projects across multiple industries, from construction and mining to maintenance and materials handling. The bucket and teeth styles you choose will play pivotal roles in project efficiency and vary depending on the nature of the job. The correct bucket and bucket tooth type can reduce downtime, enhance productivity, increase cost efficiency and expedite a project.
How to Change Excavator Buckets
Like any well-used components, excavator buckets wear out over time. If you do not replace a worn bucket, you risk exposing and damaging your excavator’s shank. To prolong your excavator’s life, you must practice preventive maintenance, including changing worn-out buckets with new ones.
The bucket style you choose will also impact job efficiency. You might need to change buckets quickly on the job, as specific bucket styles are better suited to particular tasks. Knowing how to change your excavator bucket quickly will help keep your machinery in excellent condition and boost productivity.
Follow these steps to change your excavator bucket:
- Level your buckets: Place your old and new buckets side-by-side on a level surface.
- Remove the bucket’s lynchpins: Use a screwdriver to remove the lynchpins from your current excavator bucket.
- Detach the bucket: Lift the boom arm up and away from the excavator bucket until it is no longer attached.
- Align the new bucket: Reduce your excavator’s throttle speed to its lowest setting. Maneuver your boom arm to align the excavator’s dipper links above the new bucket’s ears.
- Lower the boom arm: Lower the boom arm and maneuver the dipper to line up with the new bucket’s lynchpin holes.
- Slide the pins into place: Slide the rear lynchpin into place. Be careful to avoid placing your fingers in the lynchpin holes.
- Lift the new bucket: Carefully lift the bucket into the air once you have the rear lynchpin inserted. The rear lynchpin should snap into place.
- Retract the ram: Retract the excavator’s ram to insert the front lynchpin.
- Move the bucket: Move the dipper around, rotating the bucket to ensure the bucket is secure and has a full range of motion.
How to Remove Excavator Bucket Teeth
Like buckets, bucket teeth also wear down over time. Periodically replacing bucket teeth is crucial to avoid damaging their adapters. Learn how to replace teeth on an excavator bucket in a few easy steps below.
1. Select a Suitable Bucket Tooth Type
The first step is identifying excavator bucket teeth that are appropriate. Each bucket tooth type has a purpose suited to particular excavation jobs. The different teeth varieties include the following:
- Chisel tooth: A chisel tooth is an earth-moving tooth with a high stacking surface. These teeth allow you to expertly excavate large quantities of soil, sand and gravel.
- Tiger tooth: Tiger teeth come in single or “twin” teeth. Both a single and twin tiger tooth can easily penetrate frost, rock and hard soil during digging and trenching projects. However, a twin tiger tooth has a longer shelf life due to its additional penetration surface.
- Rock tooth: A rock tooth is a steel chisel tooth that penetrates and moves rock, iron ore, stone or hard ground.
2. Identify the Correct Pin Installation Style
Next, identify your excavator’s bucket tooth-pin installation style and gather your tools or removal device kit. There are two primary pin installation styles for excavators:
- Top pin: A top pin installation style refers to an excavator bucket with a vertical or top-to-bottom tooth pin.
- Side pin: A side pin installation style features a horizontal or left-to-right pin and requires a longer tool to disassemble.
3. Locate Your Factory Bucket Tooth Size
Choosing the correct bucket tooth size is crucial. You can identify the style and size of your factory bucket teeth by locating the part number on the tooth’s surface, interior wall, or pocket edge. You can also measure the pin, retainer or tooth pocket size to identify tooth size.
4. Replace the Teeth on Your Excavator Bucket
Once you have the correct tooth size and your assembly toolkit ready to go, follow these steps to replace your excavator’s teeth:
- Stabilize the excavator bucket on a flat surface.
- Knock out the existing roll or keener pins with a pin removal device.
- Use a brush to remove debris or stains from the excavator’s shank adapter.
- Place the new tooth over the bucket’s adapter.
- Hammer the new roll pin into the adapter’s pinhole opening until it is secure.

How to Change Buckets on a Mini Excavator
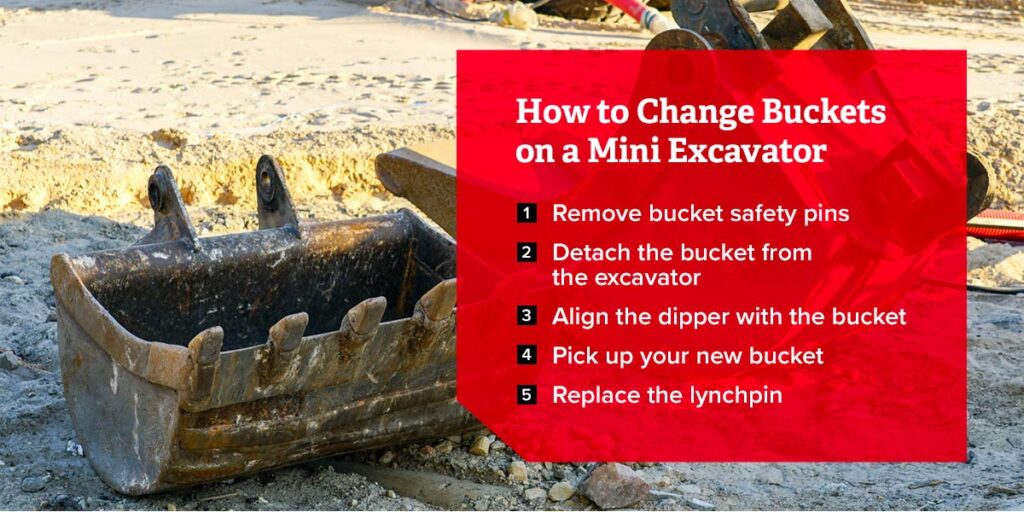
Mini excavators are compatible with several bucket styles, making them suitable for various projects across multiple industries, including construction, farming, landscaping and maintenance. If you are familiar with changing excavator buckets, you will be pleased to know changing the bucket on a mini excavator is a similar process, regardless of the bucket type:
- Remove bucket safety pins: First, set your bucket next to the new bucket on a level surface. Lift the retainer ring and slide it out to remove the safety pin from your bucket.
- Detach the bucket from the excavator: Once you have removed the safety pin, lift the boom arm away from the bucket to loosen the lynchpin. Remove the lynchpin to detach the bucket from the excavator.
- Align the dipper with the bucket: Reduce your excavator’s throttle speed and align the dipper links above the new bucket’s ears.
- Pick up your new bucket: Slowly pick up the new bucket and maneuver it so that the pinholes align.
- Replace the lynchpin: Slide the new lynchpin into place after aligning the bucket’s pinholes. Once the lynchpin is in place, secure it with the safety pin.