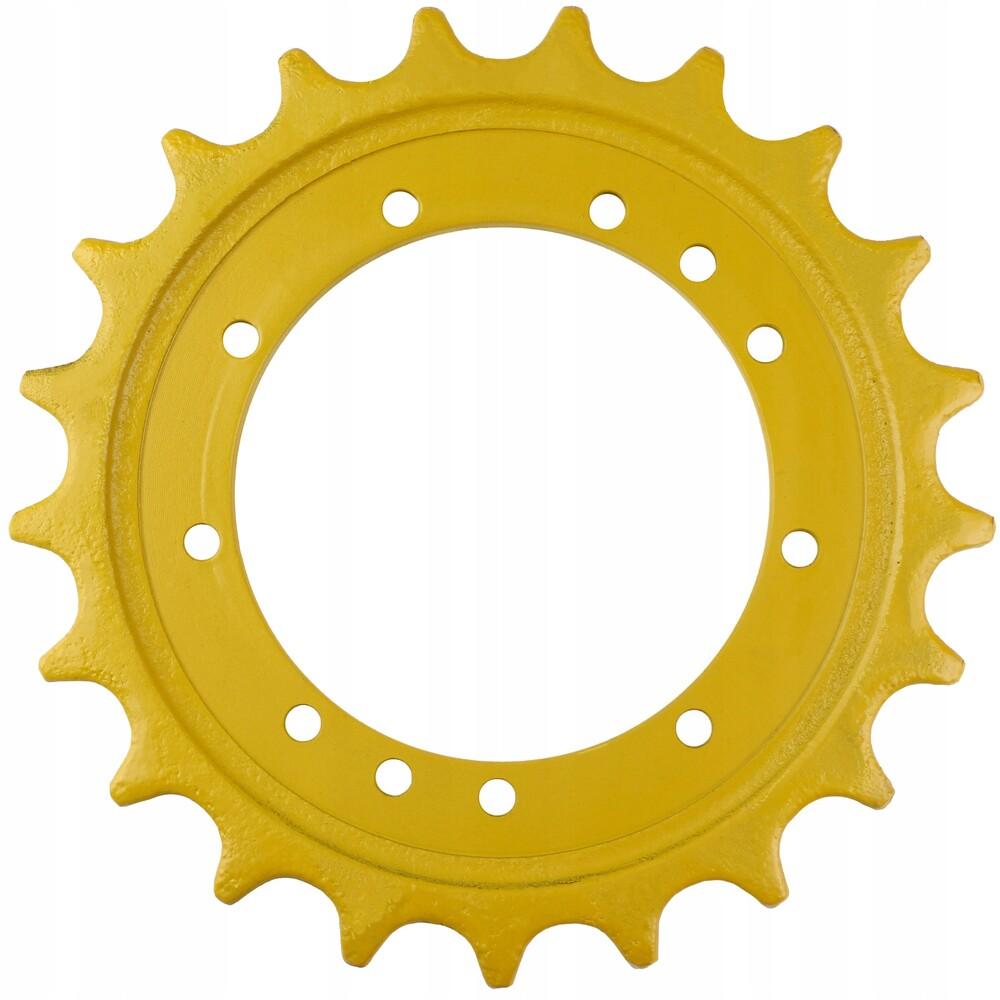
The 81N6-10012 Sprocket: An Overview
The 81N6-10012 sprocket is an important component used in various machinery, particularly in tracked vehicles and heavy equipment. This guide provides essential information regarding its features, benefits, applications, and maintenance.
1. Key Features of the 81N6-10012 Sprocket
Specifications
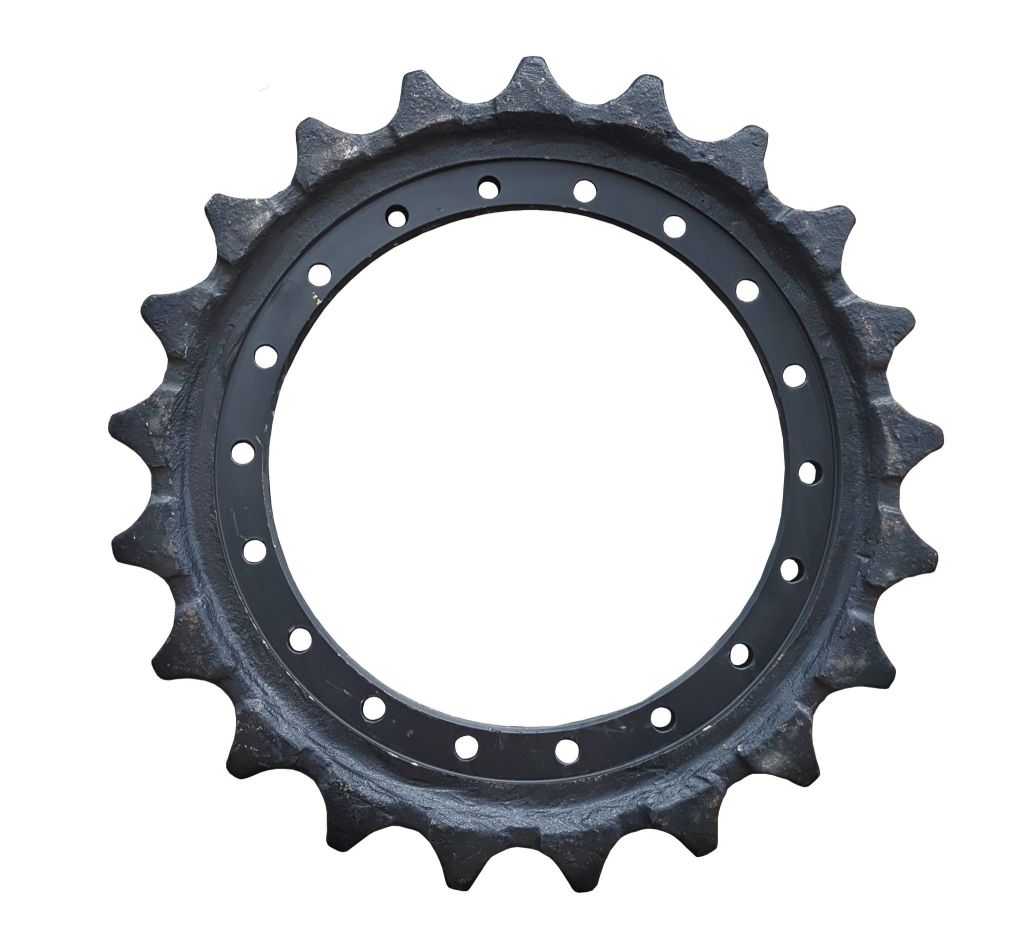
- Material: Made from high-strength steel for enhanced durability.
- Tooth Design: Precision-engineered teeth for optimal engagement with tracks.
- Compatibility: Often used in specific models of excavators, bulldozers, and other heavy machinery.
Dimensions
- Diameter: Check specific diameter measurements as they may vary based on application.
- Number of Teeth: Typically designed with a specific number of teeth to match the machinery’s requirements.
2. Benefits of Using the 81N6-10012 Sprocket
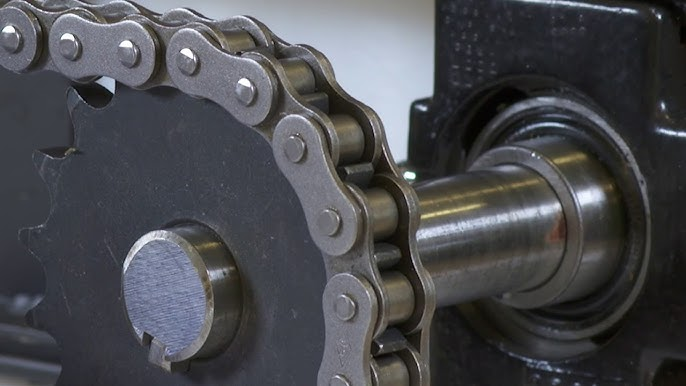
- Enhanced Performance: Provides smooth power transfer, improving overall machinery efficiency.
- Durability: Built to withstand heavy loads and extreme conditions, reducing the frequency of replacements.
- Cost-Effectiveness: Lower maintenance costs due to its robust design and longevity.
- Improved Traction: Ensures reliable engagement with tracks, enhancing stability and control.
3. Applications of the 81N6-10012 Sprocket
The 81N6-10012 sprocket is commonly used in:
- Excavators: For optimal movement and digging operations.
- Bulldozers: To ensure effective pushing and grading tasks.
- Other Heavy Equipment: Any machinery requiring reliable power transfer in tracked systems.
4. Installation Process
Tools Required
- Wrenches
- Torque wrench
- Lifting device (if necessary)
Installation Steps
- Remove the Old Sprocket: Use appropriate tools to detach the existing sprocket from the machinery.
- Clean the Mounting Area: Ensure that the mounting area is free from debris and dirt.
- Position the New Sprocket: Align the 81N6-10012 sprocket with the mounting holes.
- Secure the Sprocket: Use bolts and fasteners to attach the sprocket, tightening according to manufacturer specifications.
- Check Alignment: Ensure proper alignment with the track for optimal performance.
5. Maintenance Guidelines
Routine Inspections
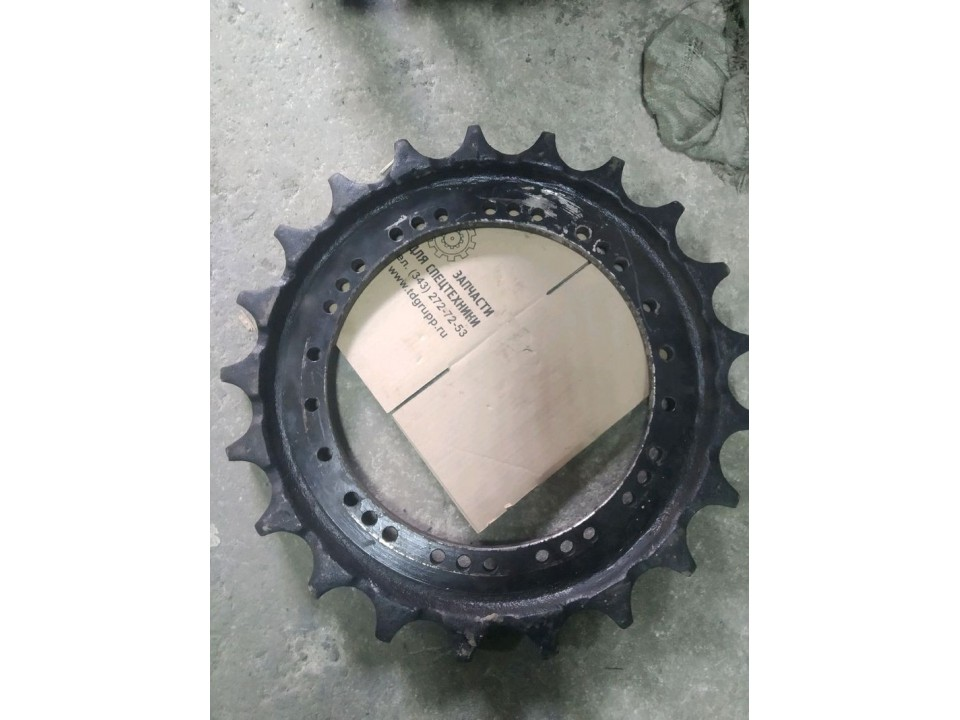
- Visual Checks: Regularly inspect for wear, cracks, or damage.
- Lubrication: Follow manufacturer recommendations for lubrication to ensure smooth operation.
Cleaning Procedures
- Debris Removal: Keep the sprocket clean from dirt and mud to prevent premature wear.
- Washing: Use water and a brush to clean stubborn deposits.
Adjustments
- Track Tension: Monitor and adjust track tension to avoid excessive strain on the sprocket.
6. Troubleshooting Common Issues
Common Symptoms and Solutions
- Uneven Wear:
- Cause: Misalignment or improper installation.
- Solution: Recheck installation and alignment.
- Excessive Noise:
- Cause: Insufficient lubrication or damaged teeth.
- Solution: Lubricate and inspect for damage.
- Frequent Breakdowns:
- Cause: Poor maintenance or incorrect parts.
- Solution: Review maintenance practices and ensure correct component usage.
7. Conclusion
The 81N6-10012 sprocket is a crucial component that enhances the functionality and reliability of heavy machinery. Understanding its features, benefits, and proper maintenance can significantly improve equipment performance. If you have any further questions or need assistance, feel free to ask!
How to Choose the Right 81n6-10012 Sprocket
Selecting the right 81N6-10012 sprocket is crucial for the performance and efficiency of your machinery. Here are key factors to consider when making your choice:
1. Understand Your Machinery
Compatibility
- Model Specifications: Ensure the 81N6-10012 sprocket is compatible with your specific make and model of equipment. Check the manufacturer’s guidelines for recommended parts.
Application Requirements
- Type of Use: Consider the primary applications of your machinery (e.g., excavation, demolition, agricultural work) to ensure the sprocket can handle the intended workload.
2. Evaluate Sprocket Features
Material Quality
- Durability: Look for sprockets made from high-quality steel or other robust materials that can withstand harsh operating conditions and heavy loads.
Tooth Design
- Tooth Count and Profile: Consider the number of teeth and the profile design. These factors affect the sprocket’s performance and compatibility with the track system.
3. Check Specifications
Size and Dimensions
- Correct Measurements: Verify the sprocket’s dimensions (diameter, width, etc.) to ensure it matches the requirements of your equipment.
Load Capacity
- Weight Ratings: Ensure that the sprocket can handle the load capacity of your machinery to prevent premature wear or failure.
4. Consider Maintenance Needs
Ease of Maintenance
- Design Features: Look for sprockets that facilitate easy maintenance, such as those with grease fittings or designs that minimize debris accumulation.
Replacement Parts Availability
- Support: Ensure that replacement parts for the sprocket are readily available from your supplier or manufacturer.
5. Analyze Cost vs. Value
Budget Considerations
- Cost-Effectiveness: While cost is important, consider the long-term value. Investing in a high-quality sprocket can save on maintenance and replacement costs.
Warranty and Support
- Manufacturer Warranty: Check if the sprocket comes with a warranty. A good warranty can provide peace of mind and protection against defects.
6. Seek Expert Advice
Consult Professionals
- Expert Recommendations: If uncertain, consult with a technician or a supplier specializing in heavy equipment parts. They can provide insights based on their experience.
7. Purchase from Reputable Suppliers
Reliable Sources
- Authorized Dealers: Buy from authorized dealers or trusted suppliers to ensure you receive genuine parts and proper customer support.
Conclusion
Choosing the right 81N6-10012 sprocket involves understanding your machinery, evaluating the quality and specifications, and considering maintenance needs and cost. By following these guidelines, you can make an informed decision that enhances the performance and longevity of your equipment. If you have any further questions or need assistance, feel free to ask!
How to Install an 81N6-10012 Sprocket
Installing the 81N6-10012 sprocket correctly is essential for the performance and longevity of your machinery. Follow these steps to ensure a successful installation.
Tools and Materials Needed
- Basic Tools:
- Socket set
- Wrenches
- Torque wrench
- Screwdrivers
- Safety Gear:
- Gloves
- Safety goggles
- Replacement Parts:
- 81N6-10012 sprocket
- Any necessary gaskets or seals
Installation Steps
1. Safety Preparations
- Turn Off the Equipment: Ensure the machinery is turned off and on a stable surface.
- Use Wheel Chocks: Secure the equipment with wheel chocks to prevent movement during installation.
2. Remove the Old Sprocket
- Access the Sprocket: Depending on your machinery, you may need to remove covers or guards to access the sprocket.
- Loosen Fasteners: Use the appropriate socket or wrench to loosen and remove the bolts securing the old sprocket.
- Remove the Old Sprocket: Carefully pull the old sprocket off the shaft. If it’s stuck, gently tap with a rubber mallet to free it.
3. Prepare the New Sprocket
- Inspect the New Sprocket: Check the 81N6-10012 sprocket for any damage or defects before installation.
- Clean the Shaft: Wipe down the shaft where the sprocket will be mounted to ensure a clean fit.
4. Install the New Sprocket
- Position the Sprocket: Align the new sprocket with the shaft, ensuring that any keyways or alignment marks are properly matched.
- Secure the Sprocket: Slide the sprocket onto the shaft until it is fully seated.
5. Fasten the Sprocket
- Install Bolts: Insert and hand-tighten the bolts that secure the sprocket to the shaft.
- Torque Specifications: Use a torque wrench to tighten the bolts to the manufacturer’s specified torque settings. This ensures a secure fit without over-torquing.
6. Reassemble Any Removed Components
- Replace Covers or Guards: If you removed any components to access the sprocket, reattach them securely.
- Double-Check Fasteners: Ensure all fasteners are tightened appropriately.
7. Final Checks
- Inspect Installation: Look over the installation to ensure everything is aligned and secured correctly.
- Run a Test: Start the machinery and run it at low speed to ensure the sprocket operates smoothly without unusual noises or vibrations.
Conclusion
Installing the 81N6-10012 sprocket correctly is vital for optimal performance. By following these steps and ensuring proper safety precautions, you can facilitate a successful installation. If you have any further questions or need assistance, feel free to ask!
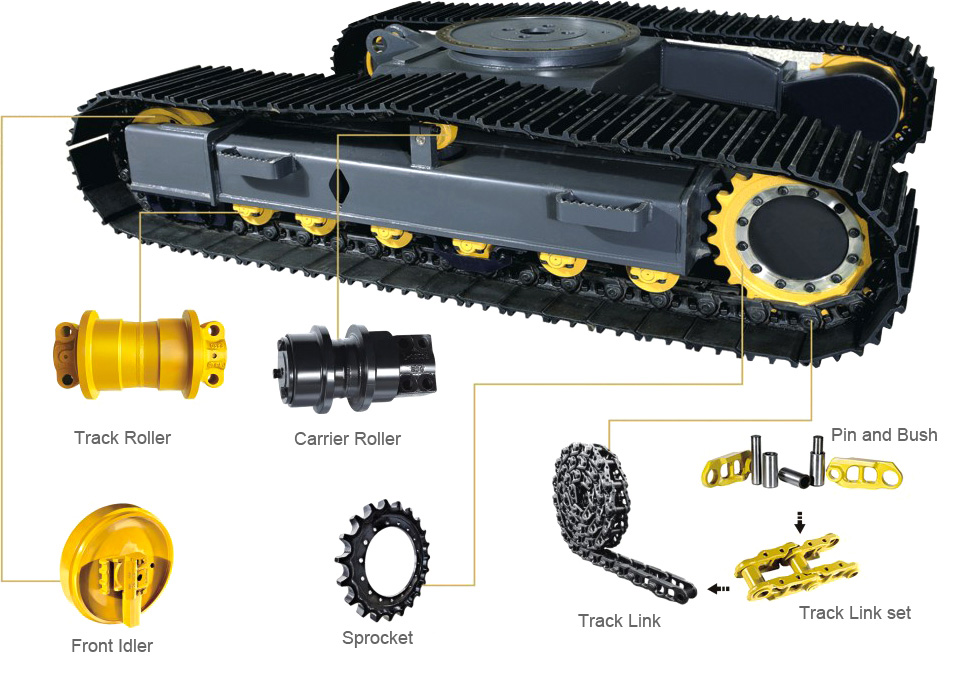
Undercarriage parts
The excavator undercarriage is the foundation that supports the entire machine, consisting of critical components such as track shoes, rollers, idlers, and sprockets that work together to provide traction, stability, and mobility. These durable parts are engineered to withstand the intense stresses and harsh operating conditions encountered during construction, demolition, and earthmoving tasks, and their proper maintenance and replacement are crucial for ensuring the excavator’s long-term performance and reliability. The undercarriage plays a vital role in the excavator’s overall capabilities, enabling it to traverse a wide range of terrains and job site conditions with confidence and efficiency.